How to Create a Custom macOS Installer (DMG Design Guide)
A default macOS installer works, but it doesn’t look professional.
A custom-designed .dmg installer:
- builds trust;
- improves perceived quality;
- makes your app feel premium.
What Makes a Good Installer
A polished DMG typically includes:
- Custom background image;
- App icon placement;
- Applications folder shortcut;
- Directional arrow;
- Clean layout and spacing.
Step 1: Create a Background Image
Design your background in:
- Figma;
- Photoshop;
- Illustrator.
Recommended size:
- 1600 × 1000 pixels
Step 2: Place Key Elements
You’ll need to align:
- App icon;
- Applications folder;
- Arrow indicator.
Precision matters, even small misalignment looks unprofessional.
Step 3: Configure Finder Layout
This involves:
- icon size;
- grid spacing;
- window size;
- background placement.
Normally done manually via Finder scripting or Terminal.
Step 4: Lock Layout
Once positioned:
- fix icon positions;
- set window properties;
- prevent layout shifting.
The Problem
Manually doing this:
- is fragile;
- breaks easily;
- requires repeated tweaking.
The Better Way
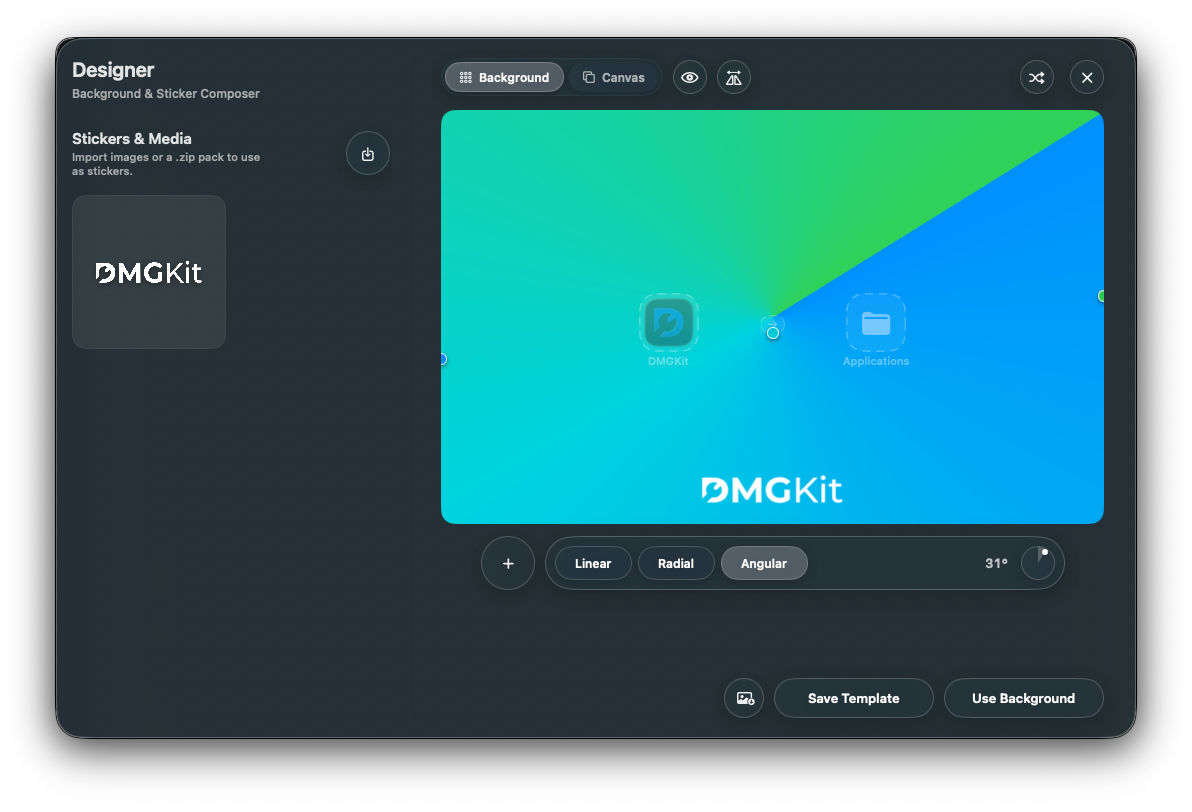
Tools like DMGKit let you:
- visually design your installer
- align elements with pixel precision
- preview before export
- export a ready-to-ship DMG
No Finder hacks required.
Conclusion
A custom installer is one of the easiest ways to make your app feel premium.
It takes minutes with the right tool, and dramatically improves first impressions.