How to Notarize Python Apps for macOS (Python Guide)
Shipping Python apps on macOS is tricky, especially when it comes to notarization.
Because Python apps bundle multiple binaries, signing and notarizing them correctly requires extra care.
Step 1: Build Your App
Using PyInstaller:
pyinstaller --onefile your_script.pyOr with py2app:
python setup.py py2appStep 2: Fix Permissions and Structure
Python builds often include:
- embedded binaries;
- dynamic libraries.
All of them must be signed properly.
Step 3: Sign Everything (Important!)
You must sign every binary inside the app bundle:
codesign --deep --force --verify --verbose \
--sign "Developer ID Application: Your Name (TEAMID)" \
YourApp.app
Step 4: Notarize
Same process:
ditto -c -k --keepParent YourApp.app YourApp.zip

xcrun notarytool submit YourApp.zip \
--keychain-profile "YOUR_PROFILE" \
--wait
Step 5: Staple
xcrun stapler staple YourApp.appCommon Python Issues
- Unsigned .dylib files;
- Missing executable permissions;
- Incorrect bundle structure;
- Embedded frameworks not signed.
Why Python Apps Fail More Often
Because:
- they bundle more dependencies;
- include compiled components;
- are less “standard” than native apps.
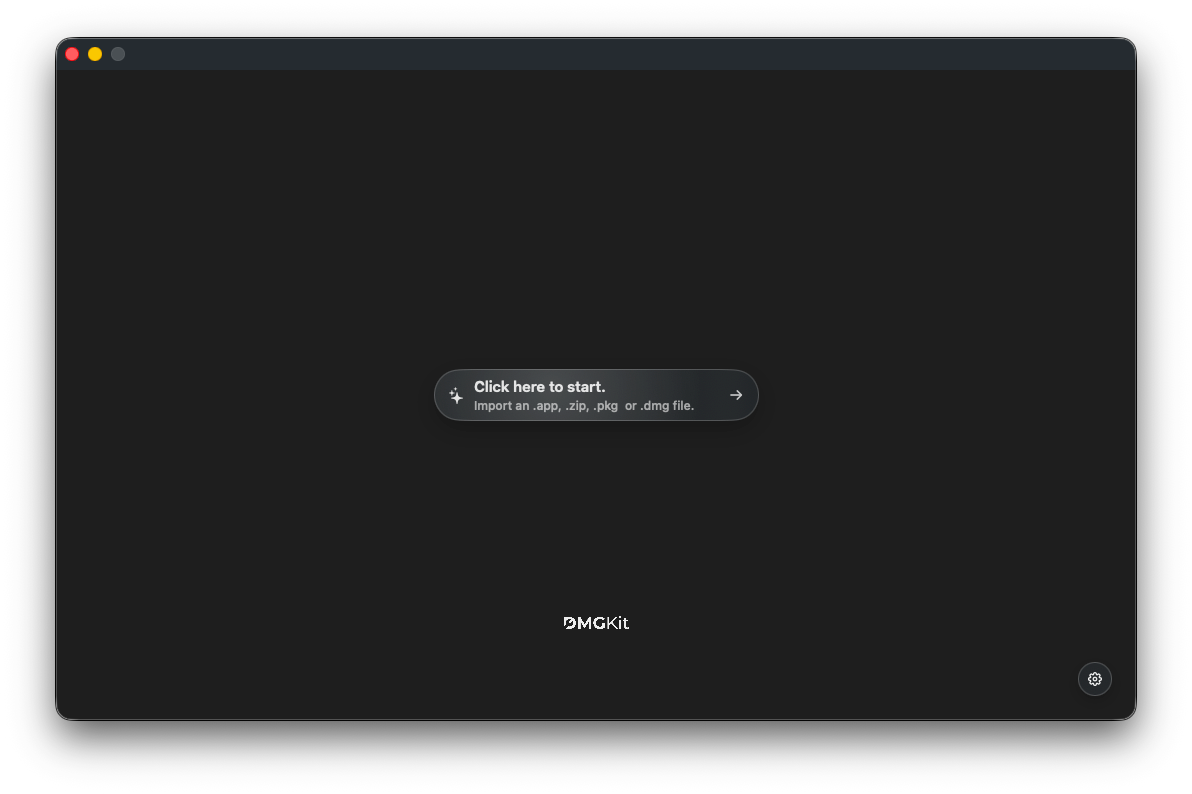
The Easier Approach
Using DMGKit, you can:
- verify signing issues;
- notarize bundled apps;
- package everything into a clean installer.
This avoids most common Python packaging headaches.
Conclusion
Notarizing Python apps is harder than native macOS apps, but it’s manageable once you understand the structure.
With the right setup (and tools), you can ship Python apps that install cleanly and pass Apple’s security checks.