How to Notarize Mac Apps Easily (Step-by-Step Guide)
If you want to distribute a macOS app outside the App Store, notarization is no longer optional — it’s required.
Without notarization, users will see security warnings, and your app may be blocked entirely by Gatekeeper.
The process can feel confusing at first, but once you understand the flow, it becomes straightforward.
What is Notarization?
Notarization is Apple’s automated process that scans your app for malicious content and verifies that it’s safe to distribute.
Once approved, your app is “notarized” and can be opened without security warnings.
What You Need Before Starting
- Apple Developer account;
- Developer ID Application certificate;
- Your .app bundle ready;
- Xcode Command Line Tools installed.
Step 1: Sign Your App
Before notarizing, your app must be signed:
codesign --deep --force --verify --verbose \
--sign "Developer ID Application: Your Name (TEAMID)" \
YourApp.app
Step 2: Create a ZIP or DMG
Apple requires a packaged file:
ditto -c -k --keepParent YourApp.app YourApp.zipStep 3: Submit for Notarization
xcrun notarytool submit YourApp.zip \
--keychain-profile "YOUR_PROFILE" \
--wait
Step 4: Staple the Notarization
xcrun stapler staple YourApp.appStep 5: Verify
spctl -a -vvv YourApp.appCommon Issues
- Invalid signature;
- Missing entitlements;
- Incorrect certificate;
- App contains unsigned binaries.
The Easier Way
Doing all of this manually works, but it’s slow and error-prone.
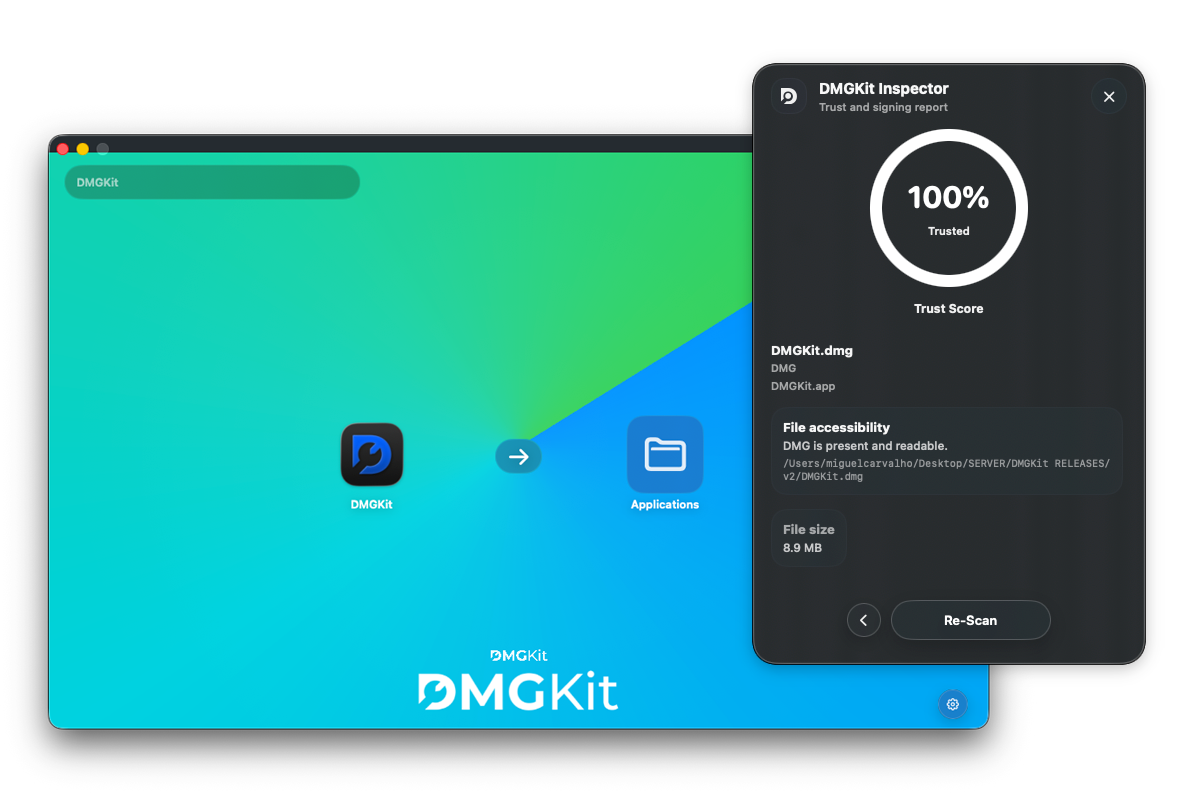
Tools like DMGKit automate:
- signing;
- notarization;
- packaging into a DMG.
So you can focus on shipping, not debugging Apple tooling.
Conclusion
Notarization is required, but it doesn’t have to be painful. Once set up, it becomes a simple repeatable process, especially with the right tools.